Keurig K Mini Not Working – Troubleshooting Guide
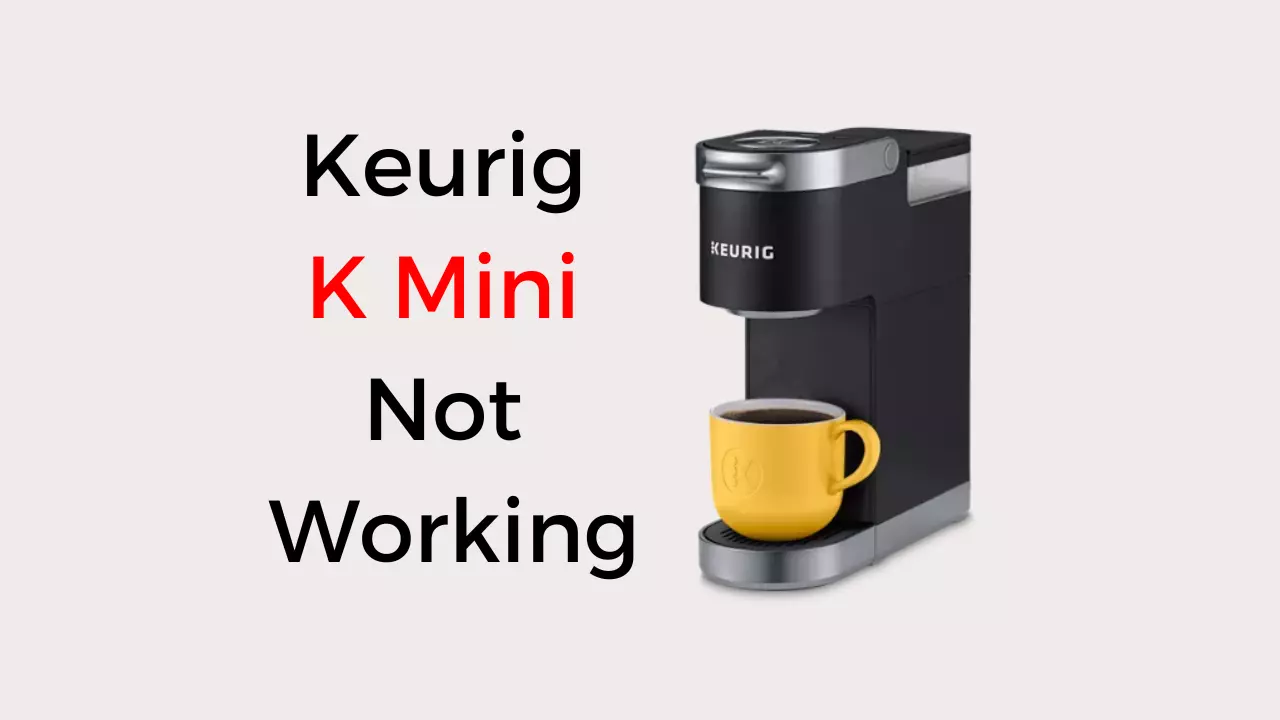
A week ago, someone reached out to me with the complaint that his Keurig K mini was not working. He never knew that his empty reservoir, clogging in the water pump, and faulty electronic components were the reasons why his K mini was not working.
These things I listed above might be what you are facing now and you don’t know how to go about it. I will show you how you can get all these fixed back. Make sure you read the article till the end.
Keurig K Mini Not Working Problems And Solution
Noise, clogging, water error, and turning off and on the machine are some of the reasons your Keurig K mini is not working. When these things are not worked on it can lead to total damage to your machine. So the best thing to do is to work on it. I will show you what to do to fix them just as their problem will follow accordingly.
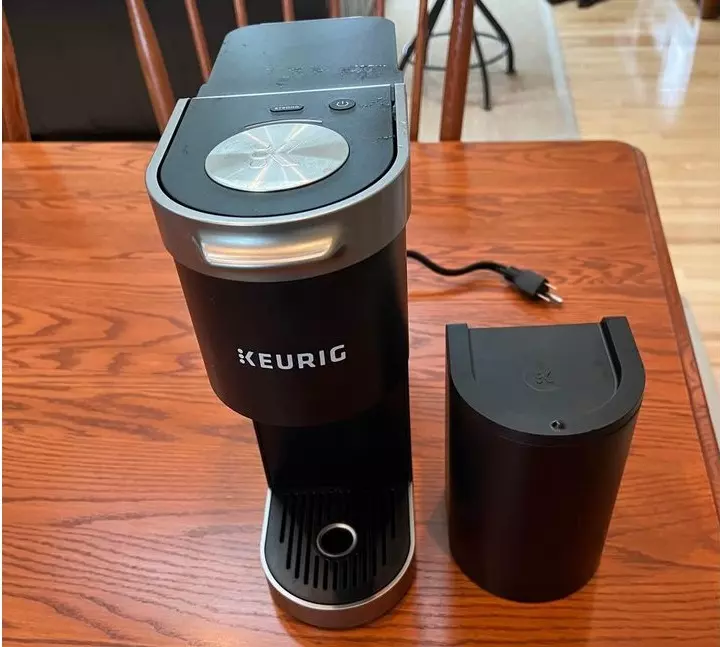
The Keurig K Mini Makes A Lot Of Noise During Brewing.
The setting of your machine is the reason why it is making noise and that’s why your Keurig k mini is not working. What you need to do is for you to fix it back and get the right setting for it.
Solution:
- Turn off your machine first before you unplug it from the wall socket.
- Wait for 5 minutes before you can plug it back into the wall socket and then turn it on from the machine power button.
- You can reset the Keurig K mini coffee machine by making use of the button to do it.
- Press the brewing button, it is located at the lower right-hand of the Keurig K mini control panel. Press the button and hold it for 3 seconds before you can let go of it.
- Once the add water light blinks, then rest assured that your Keurig K mini machine has been reset.
The Keurig K Mini Water Reservoir Is Clogged
A clogged water reservoir can make your Keurig K mini not work. The first thing to do is not for you to start thinking that your machine is bad and needs to be replaced, what you need to do first is clean it.
Solutions:
- Do a descaling in the machine.
- Make use of either the Keurig K mini solution or you can make use of white vinegar for it. The normal size of vinegar to use or the other one is 16 oz of the solution and 16 oz of water.
- Make sure you rinse your Keurig K mini machine well to remove all the descaling solutions well. Rinse using fresh water from the tap to rinse it 3 times or more.
- Wash all the detectable parts with warm water and also soapy water too. Rinse with fresh water and dry it up with a paper towel. Place them in a place air can touch them.
- Arrange all the parts back and then your Keurig K mini coffee machine is ready to brew coffee for you.
The Keurig K Mini Water Reservoir Is a Writing Error
When your water reservoir is dirty or it is bad, it will always indicate that there is not enough water, which can make your Keurig K mini not work. There are a few things you can do to fix this.
Solution:
- Ring out your water reservoir and clean it.
- Wash it so softly with warm water and a mild soap it
- The water reservoir is not strong so you have to hold it tightly.
- Clean the place where the water reservoir normally stays.
- Once the water reservoir is dry, you can now place it back in its rightful position.
The Keurig K Mini is Turned off and on, on Its Own.
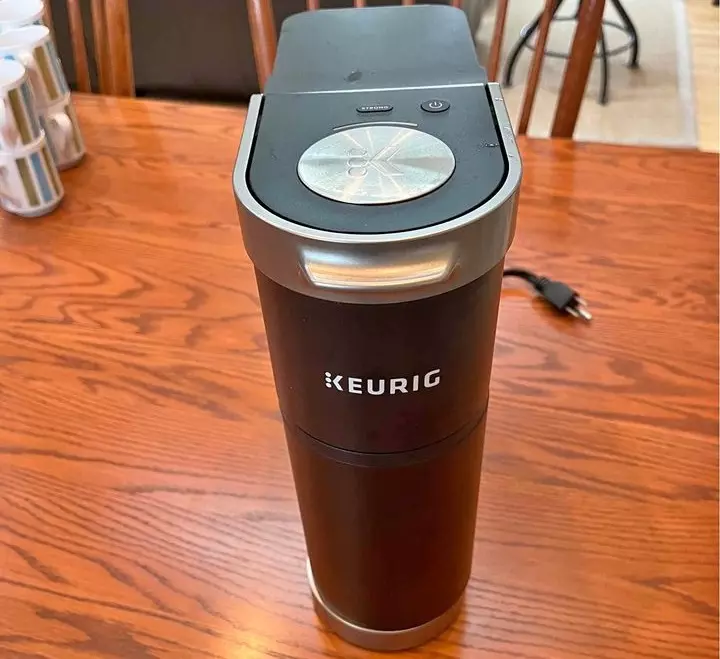
Lack of water in the water reservoir can make the machine turn off and on, on its own and this can lead to your Keurig K mini not working. Sometimes a loose lid can also cause your Keurig k mini not to work. Let’s find out how to fix it.
Solution:
- Check if there is still water in the reservoir
- Add more water to it.
- Check if all the lid is closed well.
- Fix all the lids back and also make sure that everything is in place.
How To Prevent Your Keurig K Mini From Not Working
There are preventive measures you can take to make your Keurig K mini machine last for you for a very long time.
- Unclog the water reservoir. Make sure that you clean the water reservoir and place it in its more posture.
- Check if the needles are clogged. Clean the needles so that your Keurig K mini can work perfectly well.
- Replace any part that is not functioning well. That’s if you know you can repair it.
- Check if there is any electrical component that is not working well. Fix any bad ones. Be it your wire cord or your walk socket outlet.
With all of this, the lifespan of your Keurig K mini machine will be extended and you will always enjoy using it.
If you’re still facing problems, you can consider watching this video as it might help you.
FAQs
When Is The Right Time To Descale My Keurig K Mini?
The time duration is 3-6 months for normal users, for regular users it should be every month. Make sure you descale with the Keurig solutions or with white vinegar. Since it is three times and will dry up the detachable part to get the right result.
What Are The Advisable Way To Descale My Keurig K Mini Machine?
You have to first unplug the machine. Remove all the detachable parts like the water reservoir, water filter, drip tray, k cup, and clean them with warm and soapy water. Clean the pod holder with soapy and warm water and clean them very well. Don’t forget to dry them too. Mix the water and any solution you have to be of equal size, then run a brewing cycle on it until the solution is complete. Run a brewing cycle 3 times with fresh water to Prince it. This is the proper way to descale your machine.
Conclusion
The keurig k mini coffee machine is one amazing device you will make use of in getting your favorite coffee. But if you are facing any issues with it. The solution that I have listed above will be of great help to you.
Make sure to follow the instructions to get your Keurig k mini coffee machine fixed. If you can bring out a few minutes from your working time to get this in place then, you can get your k mini device back to normal again.
You Can Also Read!

