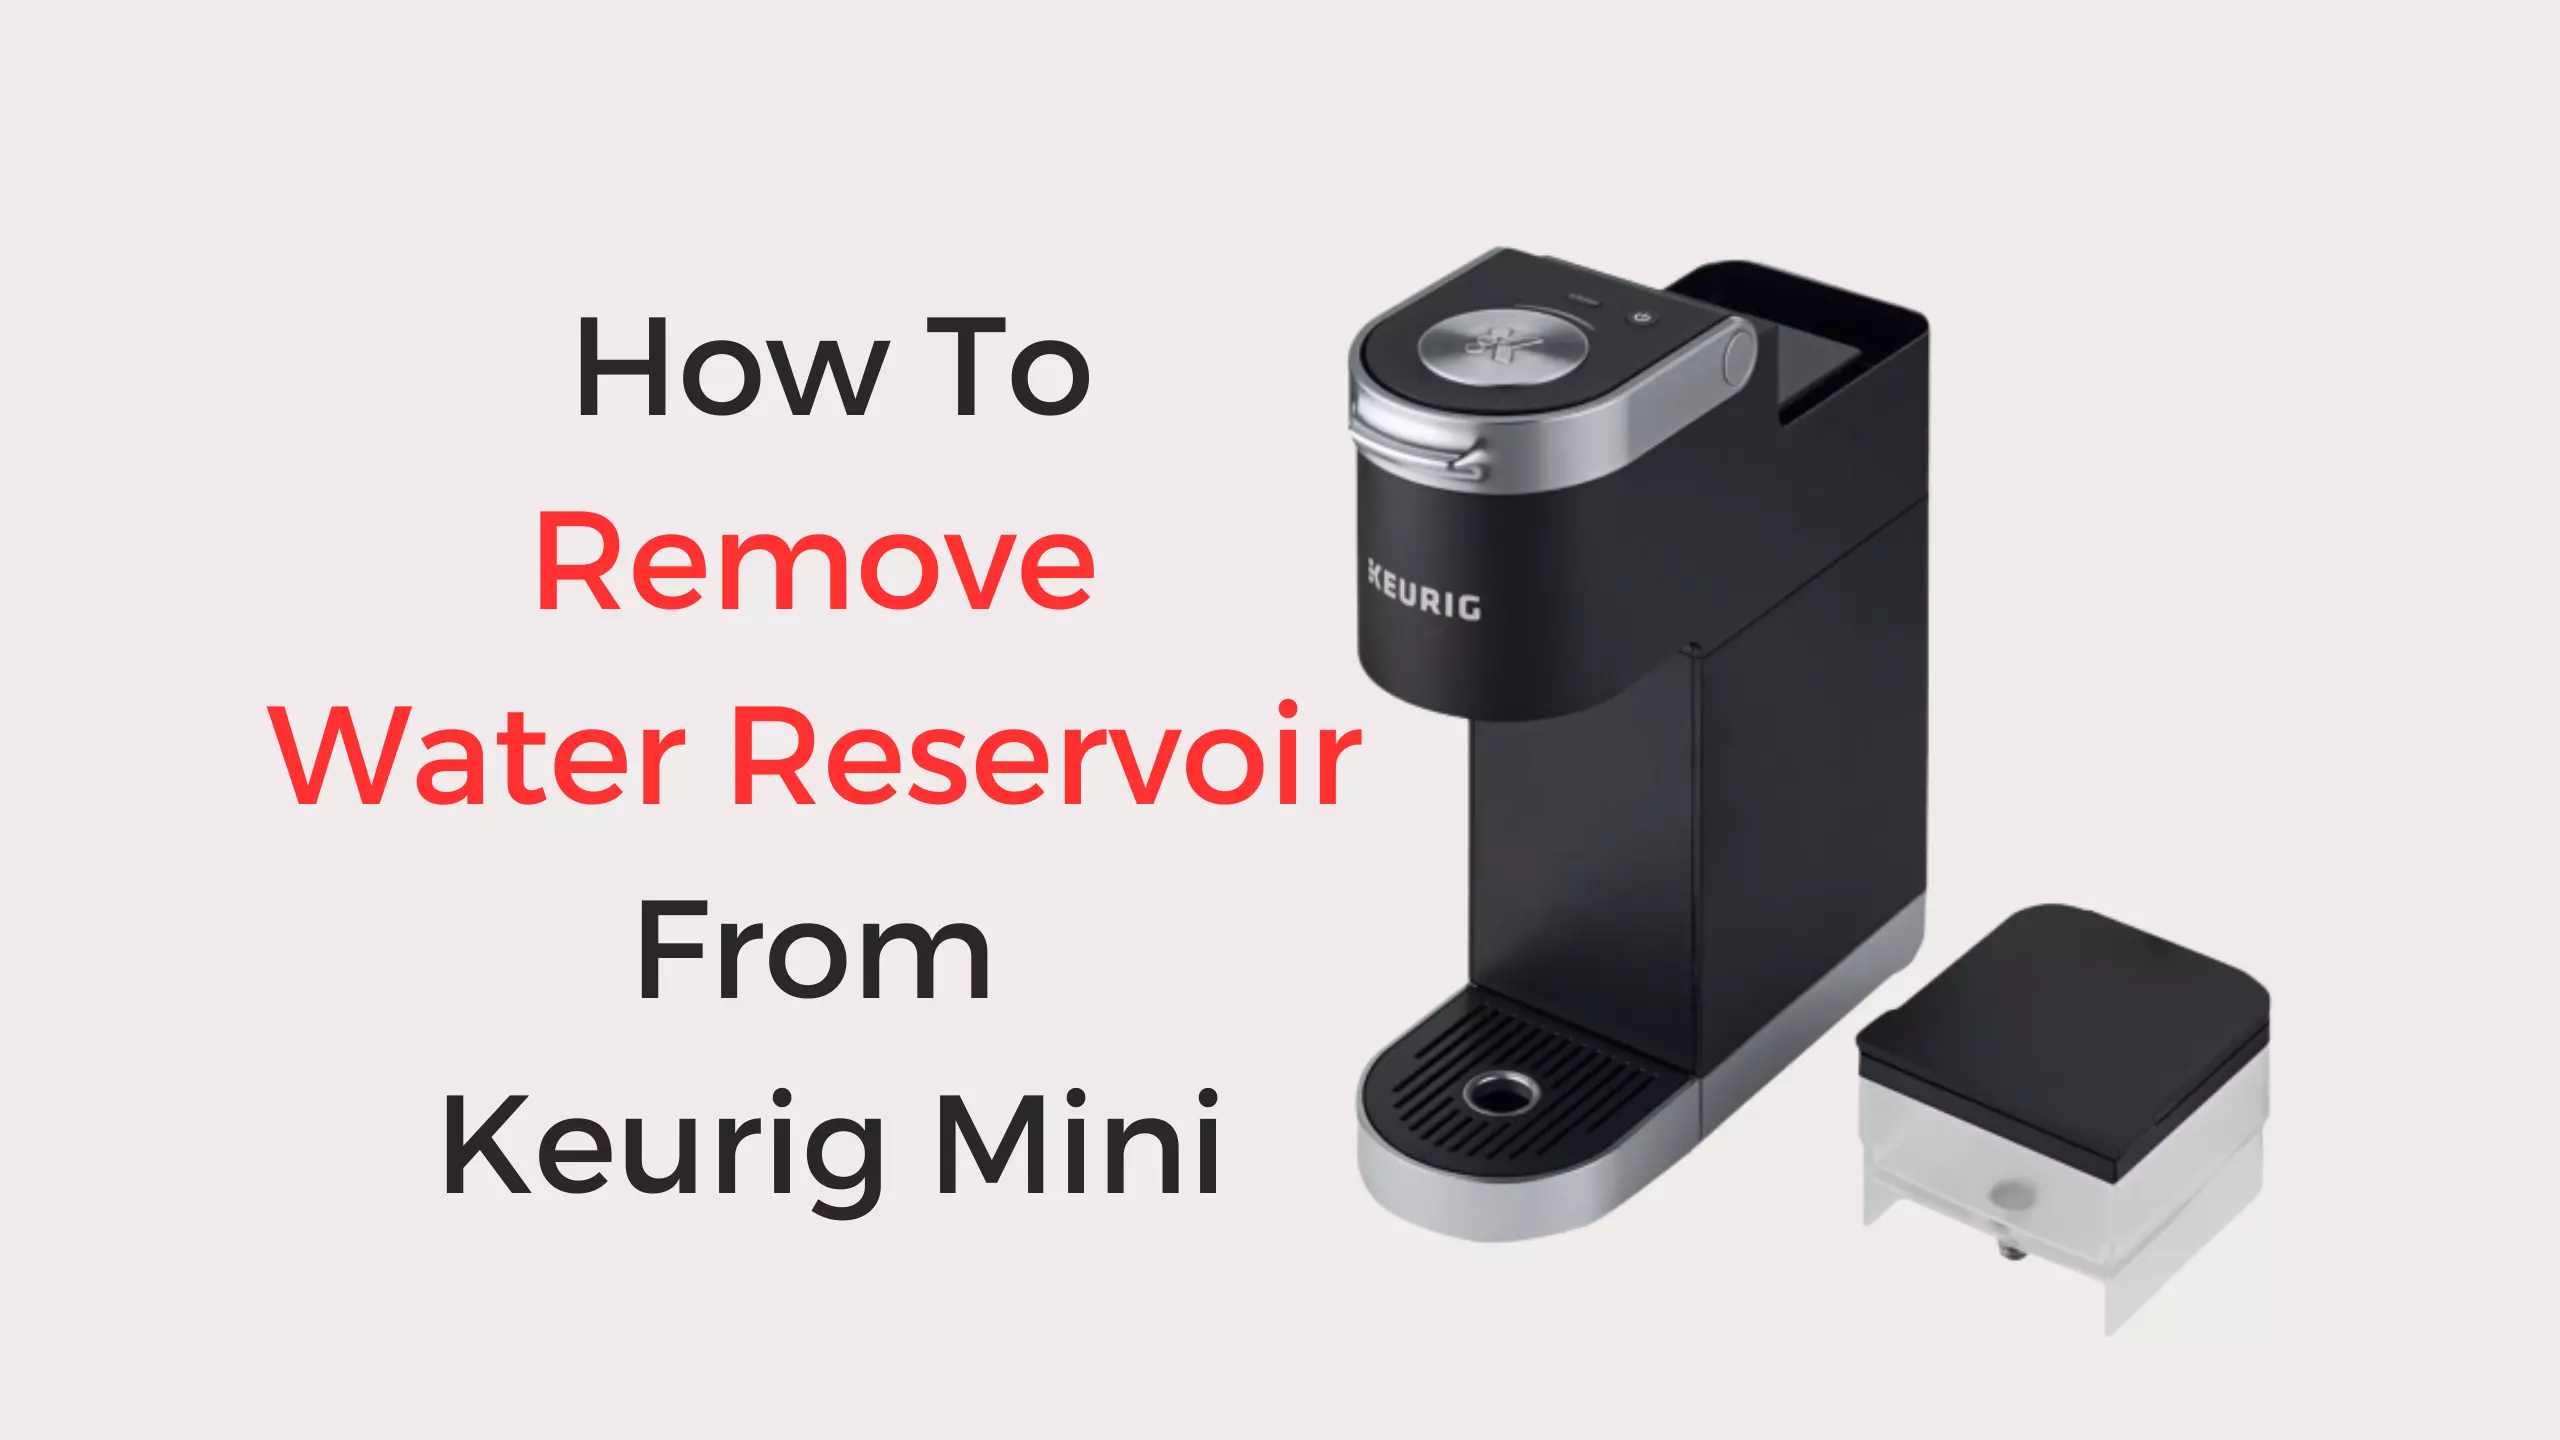
How To Remove Water Reservoir From Keurig Mini: Quick and Easy Guide
I heard a knock at my door four days ago. Guess what my neighbor came to find out from me? He told me to show him how to remove the water reservoir from a Keurig mini-off machine. He wanted me to show him how to do that with my own Keurig mini coffee machine.
So I took him to the kitchen and brought out my Keurig mini coffee machine and carefully showed him how to remove the water reservoir from the Keurig mini from the start and down to the way he can also fix it back.
So, if you are going through this same problem, I will show you how you can do it in no time. Please read this article till the end.
How To Remove Water Reservoir From Keurig Mini
There are several things you need to do to remove the water reservoir from the Keurig mini. When doing this make sure that you follow these just taking it step by step.
1. Unplug Your Keurig Mini
Electric shock is real and it can shock you too. So to avoid this from happening, you have to make sure that you unplug the Keurig mini cord from the wall socket. With this, you can set apart the water reservoir. Make sure that the wall socket is off before you will unplug your wire cord from it.
2. Detach Your Keurig Drip Tray
The tray is located right below the front of your Keurig mini. The drip tray is where the k cup normally stays. Raise the drip tray towards you. When there is a drip tray that will have some liquid in it, be careful to let the water not fall on you or the floor, take it to the sink, and remove the water. Set the drip tray apart.
3. Open And Close Your Keurig Mini Cup Holder
The Keurig cup holder is where you place your K-cups when you want to brew a coffee. You need to lift the handle of the top of the cup holder, pull the cup holder out and set it apart.
4. Clean The Cup Holder
Make use of paper clips to clean up any clogging around the cup holder. You can also clean up the needle area, and check if there is any build-up in the machine. Clean it up with warm water and soapy water and then proceed to the water reservoir.
5. Remove the Water Reservoir
When the cup holder is out, you have to remove the water reservoir by pulling it out from the Keurig mini-off machine. Be very careful while caring for the water reservoir so that it will not slip off your hands. Remember the water reservoir is very fragile.
6. Clean The Water Reservoir
To clean the water reservoir, you have to make use of warm water and soapy water. While doing this please make sure you wash it over the sink so that you can avoid the water reservoir from not slipping and breaking. Make sure to rinse the water reservoir very well with fresh water out from the tap.
7. Dry Your Water Reservoir
When you are done cleaning it, dry it with a paper towel or a good towel and place it where air can touch it. Then allow it to dry very well. The reason you are asked to dry the water reservoir first before you start to think of placing it back in the machine is so that any drip of water from it will not enter inside that machine.
8. Reassemble The Remover Back
When it is dry, you can now put the water reservoir back into the Keurig mini coffee machine. After that place the cup holder back. Now your Keurig mini machine is ready for use. Make sure to place the water reservoir in its right position so that it can stay well In the machine.
You can watch this video on How to Clean Your Keurig Coffee Maker
FAQs
How Often Should I Clean My Keurig Mini Water Reservoir?
Once every 2 weeks is advisable. The reason for this is so that your Keurig mini water reservoir will not get too much clogging on it while waiting for the next 3 months to clean it. So follow the right way to clean. It and get it done.
Does My Keurig Mini Water Reservoir Have A filter?
No, there is no installed water filter in your Keurig mini coffee machine. So the best thing to do is to buy one. Contact the Keurig mini customer service for assistance. To fix the water filter inside the water reservoir you have to check the manual or you call a professional to help you fix it.
Conclusion
With the detailed way I explained how to remove the water reservoir from the Keurig mini machine, I know you’ve been able to learn something from it. Make sure you carry your water reservoir carefully so that it will not slip off from your hand and you will now have to lose that one.
If you want to replace your water reservoir, you can contact Keurig mini customer service so that they will tell you the right one that will fit into your Keurig mini off the machine.
You Can Also Read!